CI/CD pipeline on AWS - CodeCommit - Part 1 🚀 ☁
Cloud Engineer and DevOps enthusiast, just talking about AWS, Docker, Linux, Kubernetes, Python, and automation.
Welcome to Part 1 of my series on building a comprehensive CI/CD pipeline in AWS. In this article, we will explore AWS CodeCommit, a fully managed source control service, and learn how to set up a code repository on CodeCommit and clone it on your local machine. I will also cover the steps to add a new file, commit it locally, and push the changes to the CodeCommit repository. Let's dive in!
What is CodeCommit?
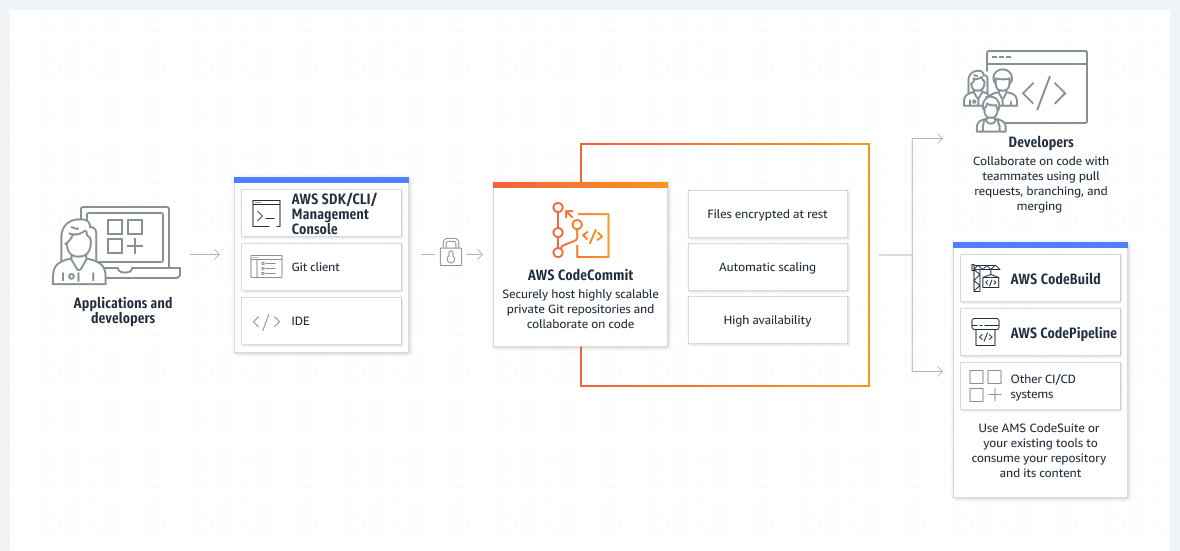
AWS CodeCommit is a fully managed, secure, and scalable version control service offered by Amazon Web Services (AWS). It provides a reliable and highly available Git-based repository for storing and managing your source code in the cloud. CodeCommit offers a secure and encrypted environment, ensuring the confidentiality and integrity of your code.
One of the key benefits of using CodeCommit is its seamless integration with other AWS services, making it an integral part of your CI/CD (Continuous Integration/Continuous Deployment) pipeline. You can easily integrate CodeCommit with AWS CodeBuild for building and testing your applications, AWS CodeDeploy for automating deployment, and AWS CodePipeline for orchestrating the entire release process.
CodeCommit provides all the standard Git functionalities, such as version history, branching, merging, and pull requests, enabling efficient collaboration and code review among team members. It also supports access controls through AWS Identity and Access Management (IAM), allowing you to define fine-grained permissions for repository access.
By leveraging CodeCommit, you can ensure that your code is securely stored and version-controlled in a scalable and reliable manner. It simplifies the development workflow, promotes collaboration, and enhances the overall efficiency of your software development process.
Task 1: Set up a code repository on CodeCommit and clone it on your local
To get started with CodeCommit, follow these step-by-step instructions:
Create an AWS IAM user: First, create an IAM user with appropriate permissions to access CodeCommit. Ensure that the user has the necessary IAM policies attached, such as
AWSCodeCommitFullAccessor custom policies granting CodeCommit access. I will use thedevops-userIAM user below: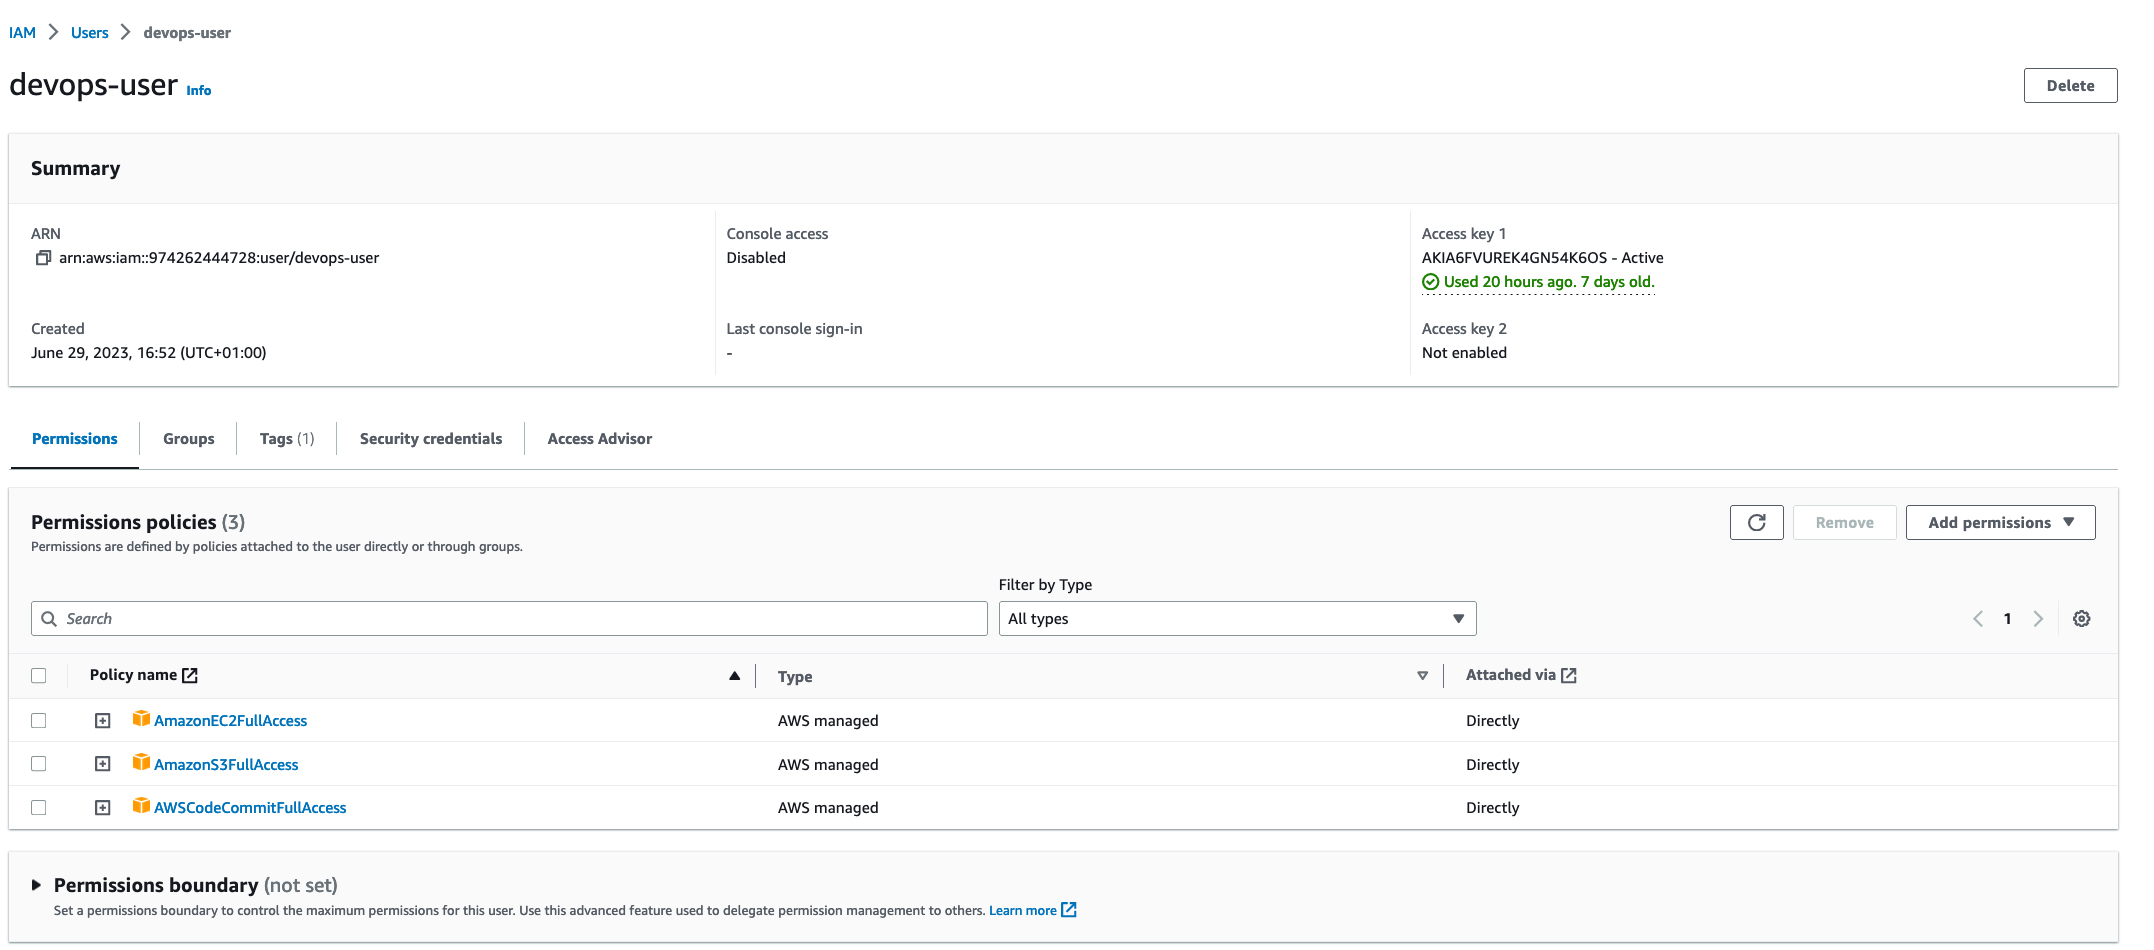
Set up Git credentials: In the IAM console, navigate to the IAM user you created, go to Security Credentials and generate Git credentials. These credentials will be used to authenticate your local Git client with CodeCommit.

Configure Git credentials on your local machine: On your local machine, open the terminal and execute the following command:
 git config --global credential.helper '!aws codecommit credential-helper $@'
 git config --global credential.UseHttpPath true
From the terminal, use Git to run
git config, specifying the use of theGit credential helperwith the AWS credential profile, and enabling theGit credential helperto send the path to repositories. We can find the full steps in the AWS Official DocumentationCreate a CodeCommit repository: In the AWS Management Console, navigate to the CodeCommit service. Click on "Create repository" and provide a name for your repository. You can also add a description and choose any additional settings as needed.

Clone the CodeCommit repository: After creating the repository, click on the "Clone URL" button to get the repository's HTTPS or SSH clone URL. Copy the URL to your clipboard.

Clone the repository locally: Open your terminal and navigate to the directory where you want to clone the repository. Execute the following command, replacing
<clone-url>with the URL you copied:git clone <clone-url>
You have now set up a code repository on CodeCommit and cloned it on your local machine.
Task 2: Add a new file from local, commit it, and push changes to CodeCommit repository
Now that you have the CodeCommit repository cloned locally, let's proceed with adding a new file, committing it, and pushing the changes to the CodeCommit repository.
Create a new file: In your local Git repository directory, create a new file using your preferred text editor. For example, you can create a file named
localfile.txt.echo "This is a test file created locally for the day 50 of the #90daysofdevops challenge" > localfile.txt
Add and commit the changes: In your terminal, navigate to the repository directory and execute the following commands:
 git add .
 git commit -m "Add new_file.txt"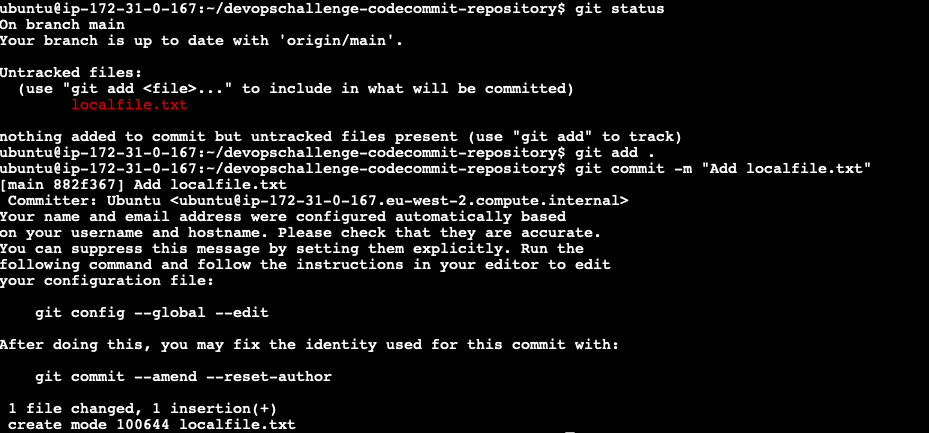
Push changes to CodeCommit: Finally, execute the following command to push the local changes to the CodeCommit repository:
git push origin <branch-name>Replace
<branch-name>with the name of the branch you want to push the changes to. If you're using the default branch, it is usuallymasterormain.
You have successfully added a new file from your local machine, committed it, and pushed the changes to the CodeCommit repository.
In this article, I covered the basics of AWS CodeCommit and walked through the process of setting up a code repository on CodeCommit, cloning it locally, and performing Git operations such as adding a new file, committing changes, and pushing them back to the repository.
Check out the next steps in the article - CI/CD Pipeline on AWS - CodeBuild - Part 2 🚀 ☁