#90DaysOfDevOps Challenge - Day 89 - DevOps Project 10 - Mounting S3 Bucket on EC2 Linux using S3FS
E
Cloud Engineer and DevOps enthusiast, just talking about AWS, Docker, Linux, Kubernetes, Python, and automation.
Search for a command to run...
Cloud Engineer and DevOps enthusiast, just talking about AWS, Docker, Linux, Kubernetes, Python, and automation.
No comments yet. Be the first to comment.
The #90DaysOfDevOps Challenge is a dedicated initiative aimed at promoting continuous learning and skill development in the field of DevOps over a 90-day period.
Welcome to Day 88 of the #90DaysOfDevOps Challenge. Today, we have an exciting project ahead where we will be deploying a Django Todo app on AWS EC2 using a Kubeadm Kubernetes cluster. Let's get started! Project Description In this project, our goal ...
Running your own home lab used to mean expensive hardware, complex networking, and hours of manual configuration. This project changes that. With a single Raspberry Pi, Docker Compose, and a few hundr

Welcome to an advanced hybrid directory demo where we'll guide you through setting up a hybrid environment, connecting to simulated on-premises infrastructure, creating a managed Microsoft AD within AWS, establishing a two-way forest trust, and integ...
Hello DevOps Community! Today marks the completion of the #90DaysOfDevOps Challenge, and it's a moment to reflect on the journey we've undertaken together. Throughout this period, I've engaged with various technologies, refining my skills in the DevO...
In a modern cloud infrastructure setup, creating a robust and scalable 2-tier architecture is essential. Such an architecture helps meet the demands of your applications while ensuring repeatability, reliability, and security. In this article, we'll ...
Welcome to Part 4 of my series on building a comprehensive CI/CD pipeline in AWS. In this article, I will explore AWS CodePipeline, a powerful service for building and deploying applications in a continuous integration and continuous delivery (CI/CD)...
Welcome to Day 89 of the #90DaysOfDevOps Challenge. In today's project, we will be mounting an AWS S3 bucket on an EC2 Linux instance using S3FS. Let's get started!
In this AWS Mini Project, you will learn how to Mount an AWS S3 Bucket on an Amazon EC2 Linux instance using S3FS. The project provides a hands-on experience with Amazon Web Services (AWS) and covers key components such as AWS S3, Amazon EC2, and S3FS.
Through practical implementation, you will gain valuable insights into securely integrating AWS services, managing data storage in S3, and leveraging S3FS to enable seamless access and interaction between EC2 instances and S3 buckets.
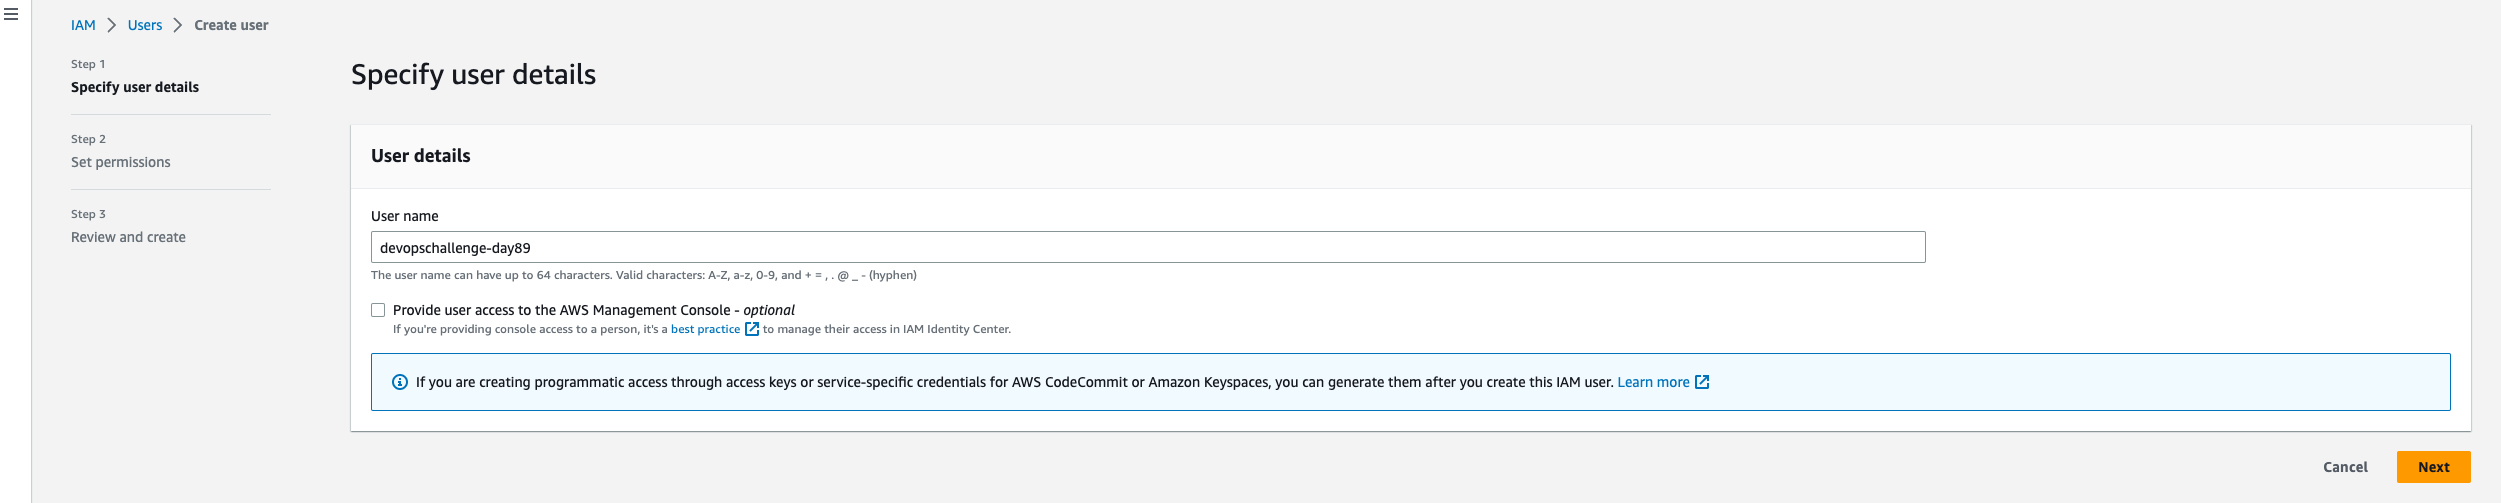
Begin by creating a new IAM user in the AWS console. Go to the IAM service, click on "Users," and then "Add user." Enter the name of the new user and proceed to the next step.
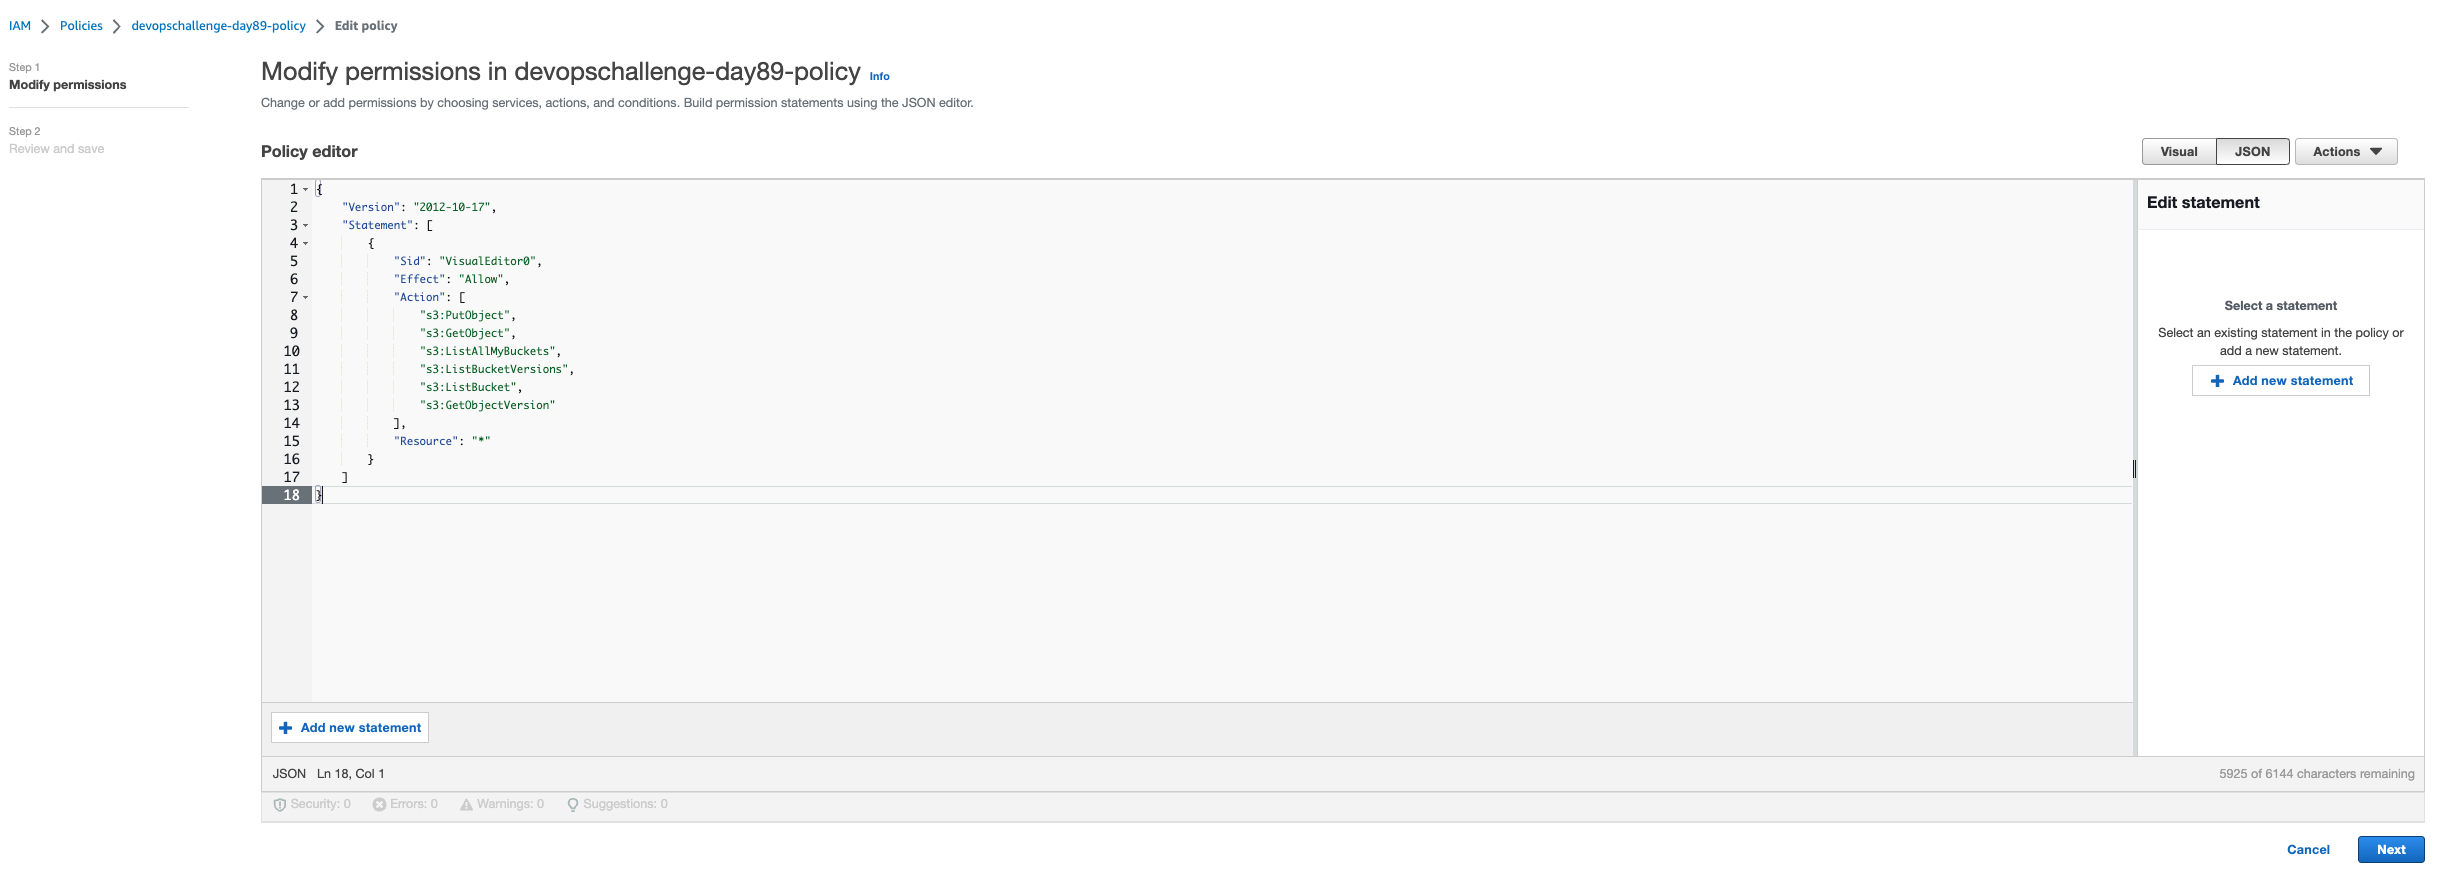
During user creation, select "Attach Policies directly" and click on "Create Policy." Create a new policy with the settings mentioned below, focusing on S3-related actions:
Service: S3
Actions: ListAllMyBuckets, ListBucket, ListBucketVersions, GetObject, GetObjectVersion, PutObject
Resources: Specific
Bucket: Any
Object: Any
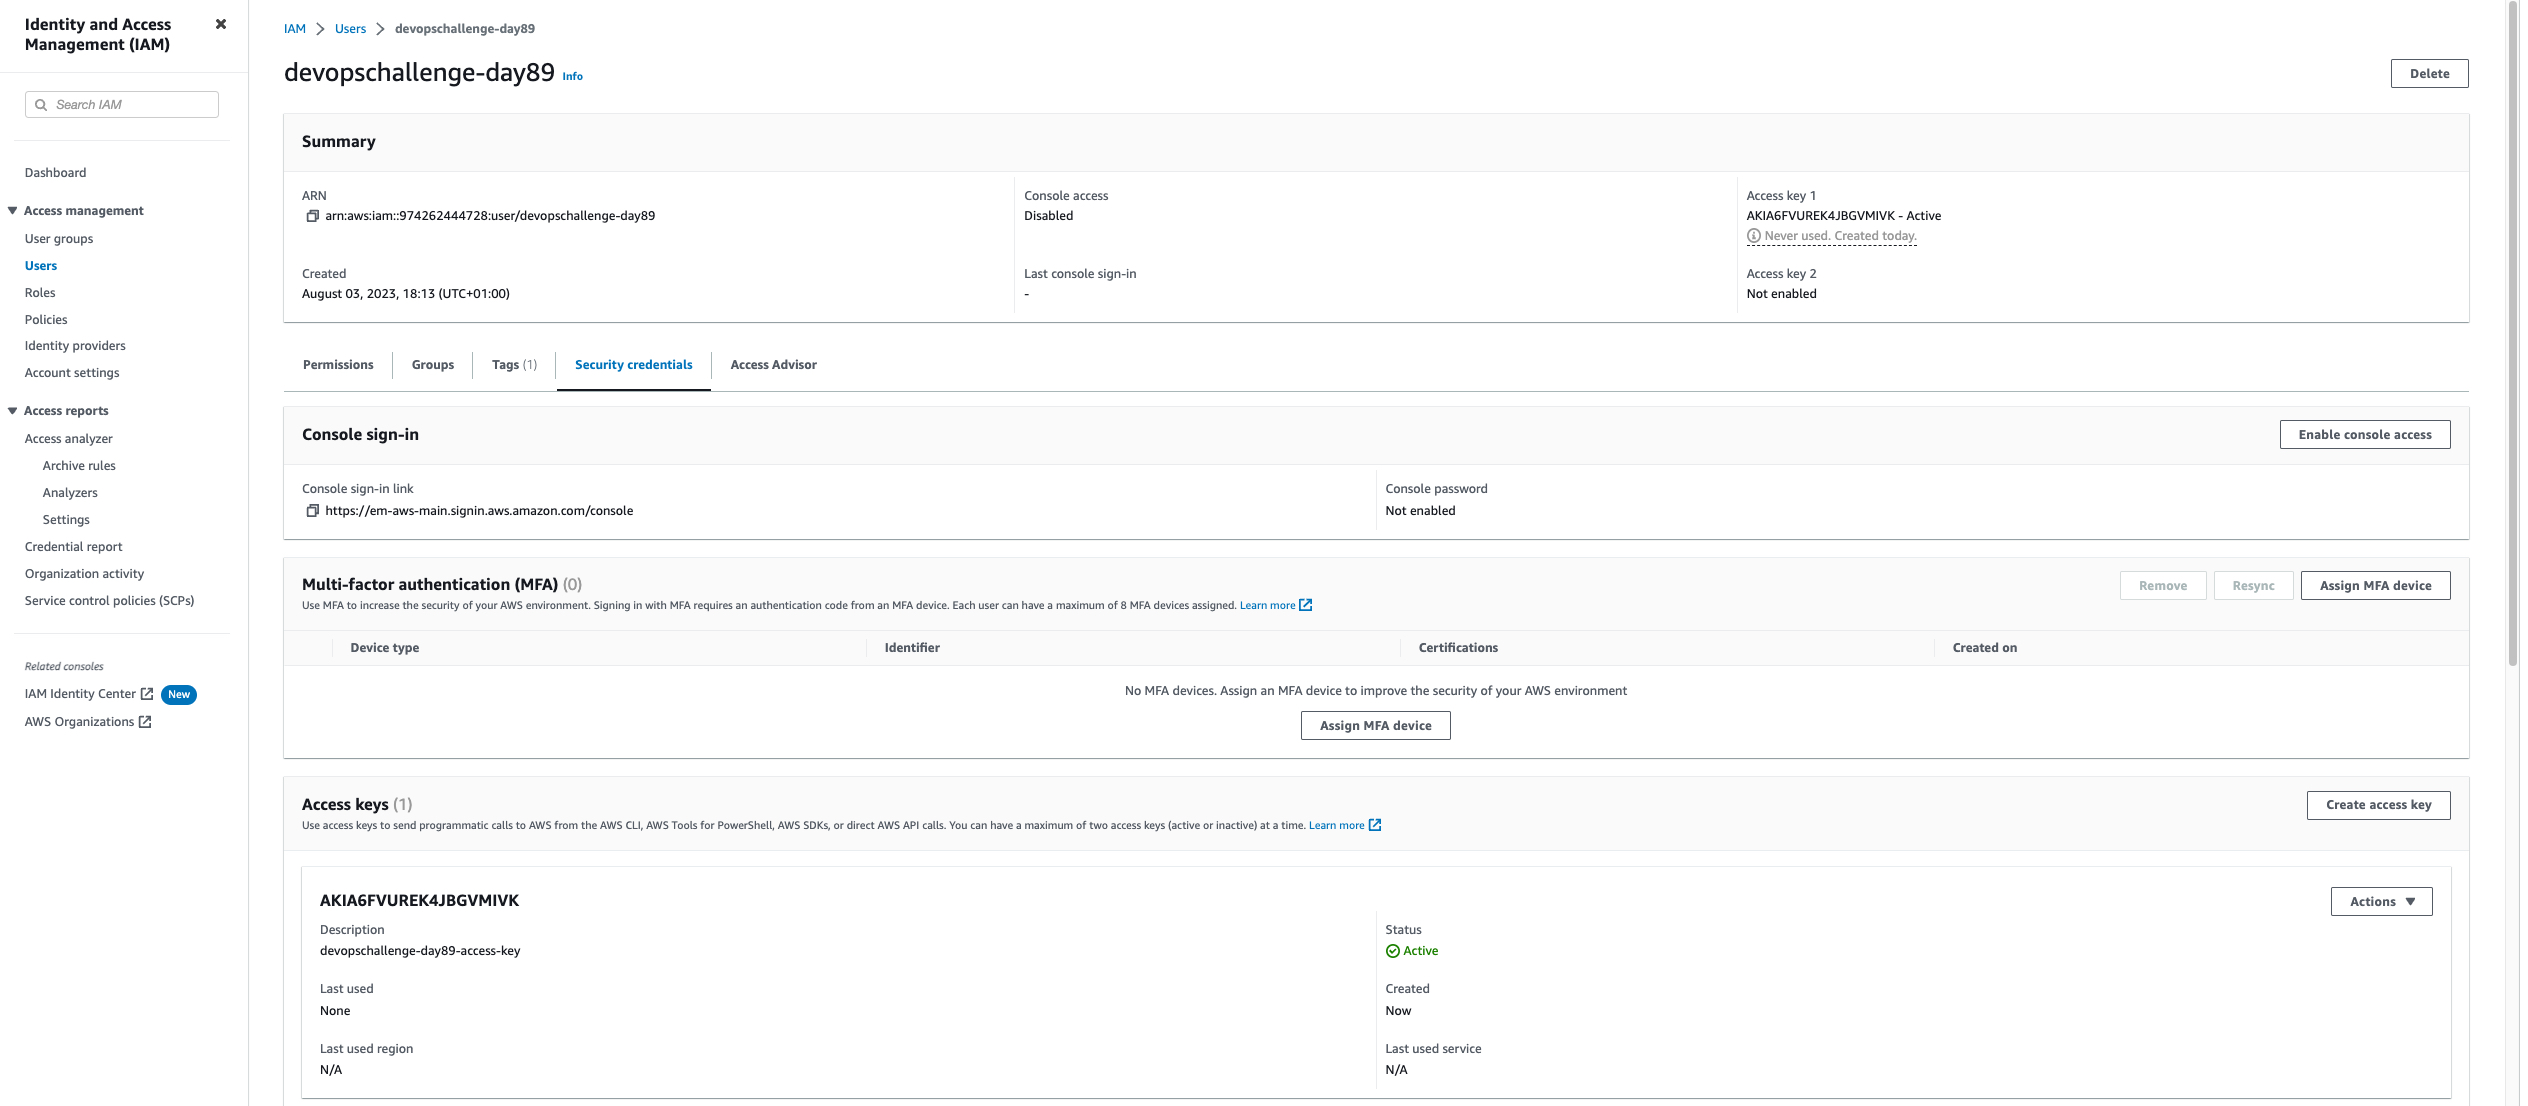
After creating the policy, give it a suitable name and proceed to create the IAM user, attaching the newly created policy to the user.

Once the user is created, go to "Security Credentials," and under "Access Keys," click on "Create Keys." Choose "Command Line Interface (CLI)" and get the Access Key and Secret Key.
Create a new t2.micro instance on AWS EC2.

On the EC2 instance, install the AWS CLI using the appropriate package manager.
curl "https://awscli.amazonaws.com/awscli-exe-linux-x86_64.zip" -o "awscliv2.zip"
unzip awscliv2.zip
sudo ./aws/install

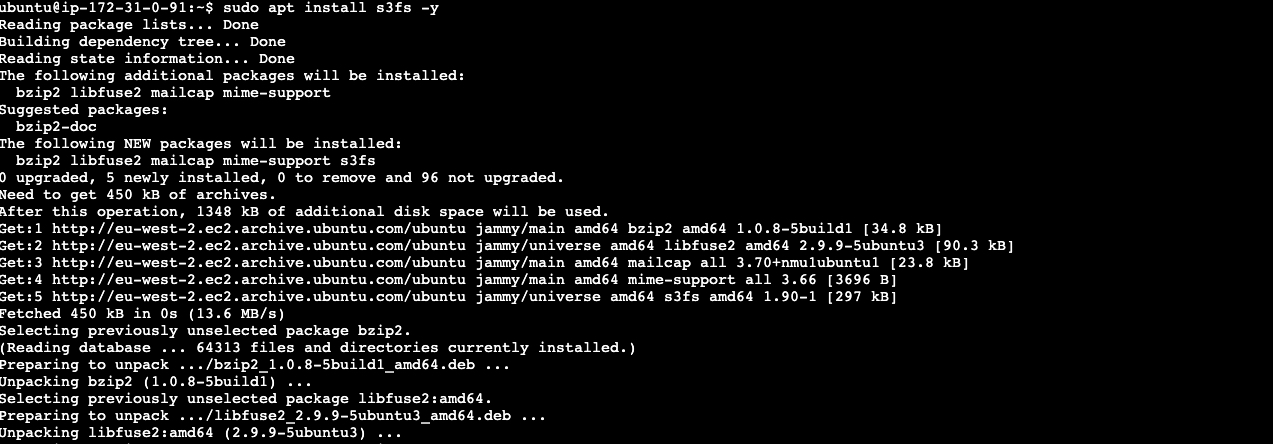
After installing AWS CLI, proceed to install S3FS on the EC2 instance.
sudo apt install s3fs -y
Create a folder named "bucket" at a location /home/ubuntu on the EC2 instance. Add 2–3 files to this folder.
mkdir bucket

touch test1.txt test2.txt test3.txt

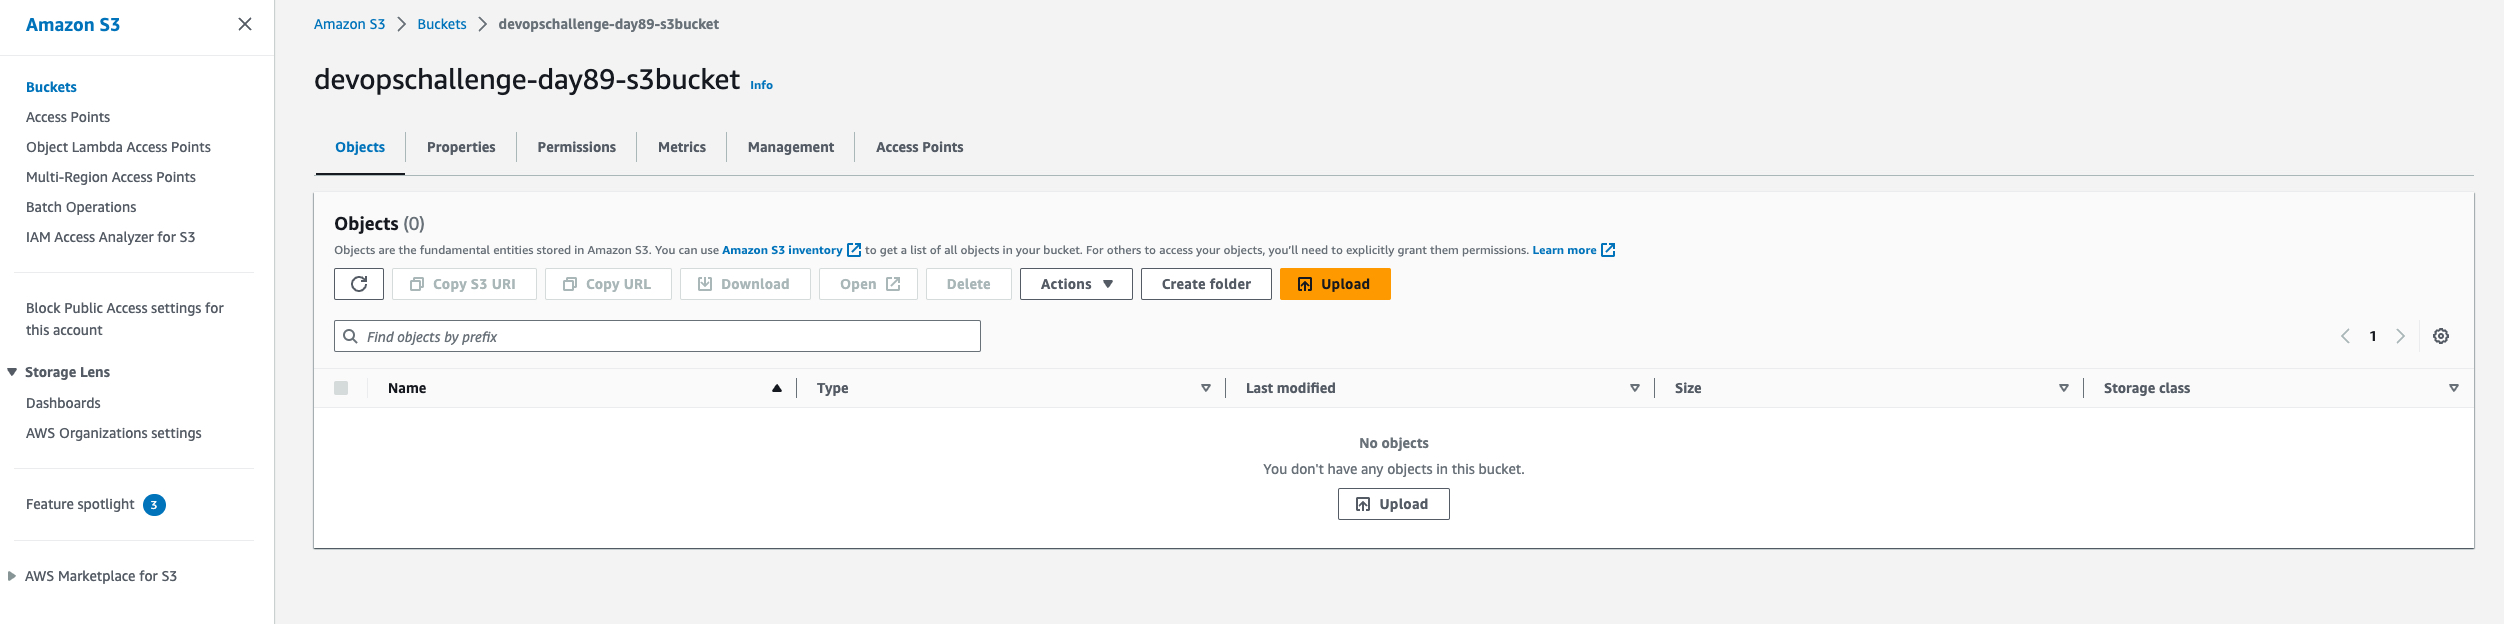
In the AWS console, create an S3 bucket with a suitable name.

On the EC2 instance, configure the AWS CLI by running the command aws configure and providing the Access Key and Secret Key obtained earlier.

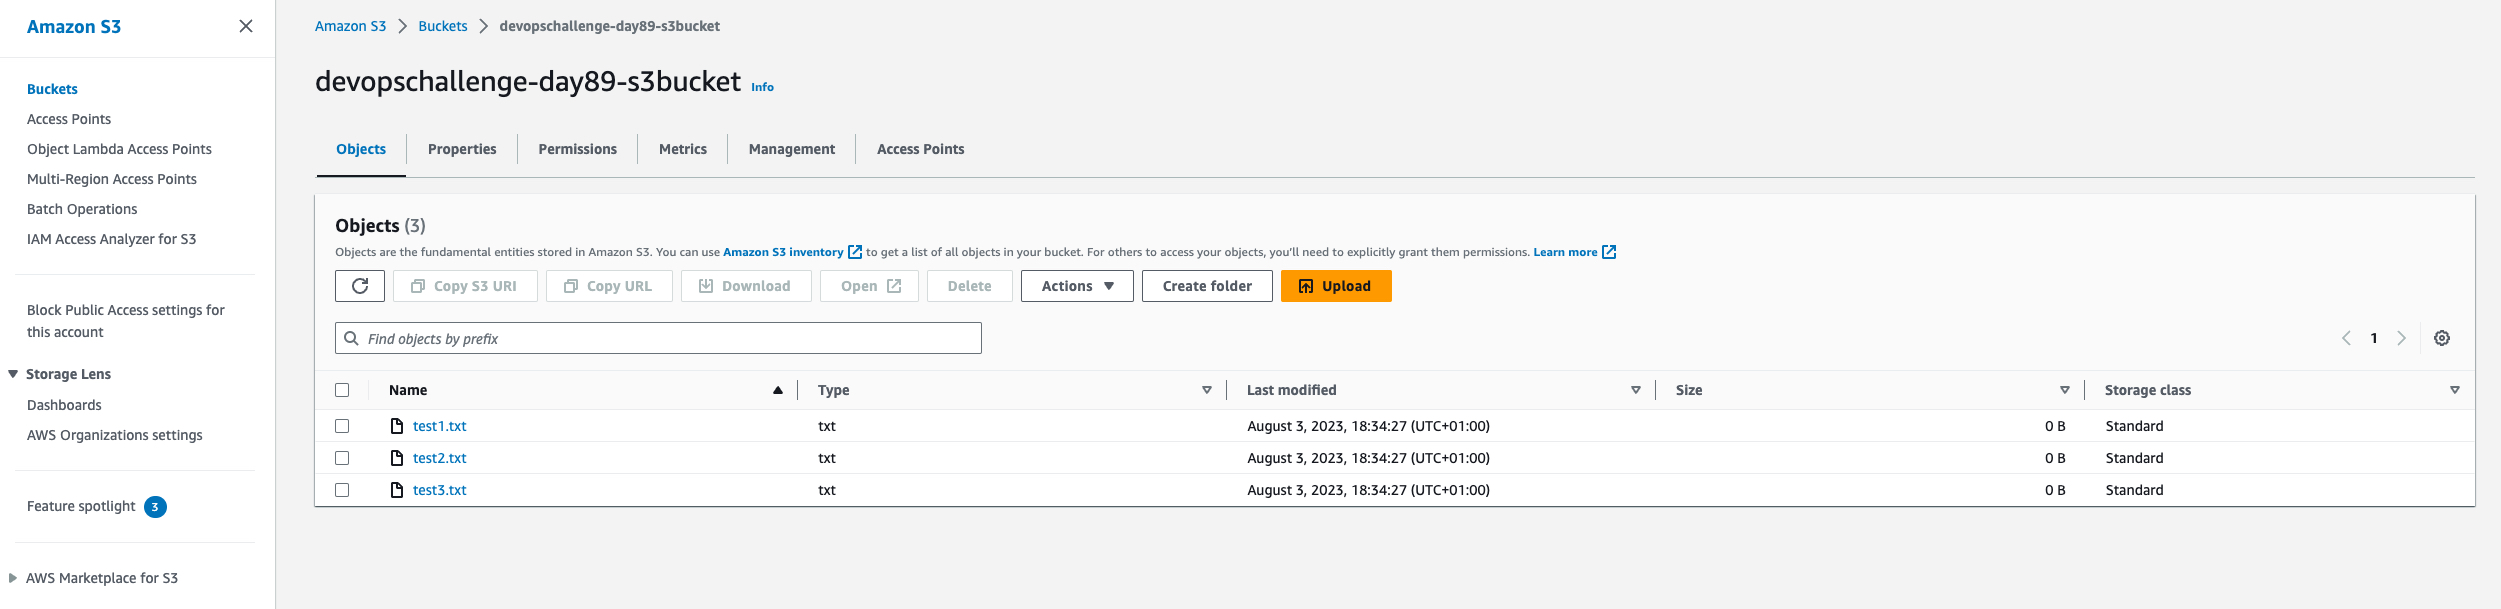
Run the below command to sync the files from the given location on the EC2 instance to the S3 bucket.
aws s3 sync /home/ubuntu/bucket s3://devopschallenge-day89-s3bucket

Refresh the objects inside the S3 bucket to confirm that all the files from the EC2 instance are successfully uploaded to the S3 bucket.
Congratulations on completing Day 89 of the #90DaysOfDevOps Challenge. You have successfully mounted an AWS S3 bucket on an EC2 Linux instance using S3FS, gaining valuable knowledge about AWS, S3, EC2, and S3FS in the process. Stay tuned for tomorrow, when we'll cover the last day of the challenge!