#90DaysOfDevOps Challenge - Day 88 - DevOps Project 9 - Deploying Django To-do App on AWS EC2 with Kubernetes Cluster

Cloud Engineer and DevOps enthusiast, just talking about AWS, Docker, Linux, Kubernetes, Python, and automation.
Welcome to Day 88 of the #90DaysOfDevOps Challenge. Today, we have an exciting project ahead where we will be deploying a Django Todo app on AWS EC2 using a Kubeadm Kubernetes cluster. Let's get started!
Project Description
In this project, our goal is to deploy a Django Todo app on AWS EC2 using a Kubernetes cluster created with Kubeadm. Kubernetes provides us with a scalable and fault-tolerant environment for running our applications, ensuring that they can handle varying loads and recover from failures automatically.
Before we start, you can access the Django Todo app's source code from GitHub. Take some time to explore the code and understand how the app is structured and what it does.
Hands-on Project: Deploying Django Todo App on AWS EC2 with Kubernetes Cluster
Pre-requisites
Before we dive into the project, let's ensure we have the necessary pre-requisites set up:
Create two AWS EC2 servers with t2.medium configuration. One will be referred to as the master server, and the other as the node server.
Install Docker on both servers.
Now, let's proceed with the project steps:
Project Steps
Step 1: Clone the GitHub Repository
Begin by obtaining the Django Todo app from the GitHub repository provided. Clone it to your local environment or the AWS EC2 instance where we will set up the Kubernetes cluster.
git clone https://github.com/LondheShubham153/django-todo-cicd.git

Step 2: Setup the Kubernetes Cluster
To set up the Kubernetes cluster, we will use the following scripts:
Master Node Setup:
# Run these commands as root or use "sudo su" to switch to the root user.

# Update package lists
apt update -y

# Install Docker
apt install docker.io -y

# Start and enable Docker service
systemctl start docker
systemctl enable docker

# Add the Kubernetes repository and update package lists
curl -fsSL "https://packages.cloud.google.com/apt/doc/apt-key.gpg" | sudo gpg --dearmor -o /etc/apt/trusted.gpg.d/kubernetes-archive-keyring.gpg
echo 'deb https://packages.cloud.google.com/apt kubernetes-xenial main' > /etc/apt/sources.list.d/kubernetes.list
apt update -y

# Install specific versions of kubeadm, kubectl, and kubelet
apt install kubeadm=1.20.0-00 kubectl=1.20.0-00 kubelet=1.20.0-00 -y

# Initialize the Kubernetes cluster on the Master Node
kubeadm init

# Set up Kubernetes configuration
mkdir -p $HOME/.kube
sudo cp -i /etc/kubernetes/admin.conf $HOME/.kube/config
sudo chown $(id -u):$(id -g) $HOME/.kube/config

# Apply a Weave networking addon to enable communication between pods
kubectl apply -f https://github.com/weaveworks/weave/releases/download/v2.8.1/weave-daemonset-k8s.yaml

# Generate the join command for the Worker Node
kubeadm token create --print-join-command

Worker Node Setup:
# Run these commands as root or use "sudo su" to switch to the root user on the Worker Node.

apt update -y
apt install docker.io -y

systemctl start docker
systemctl enable docker

curl -fsSL "https://packages.cloud.google.com/apt/doc/apt-key.gpg" | sudo gpg --dearmor -o /etc/apt/trusted.gpg.d/kubernetes-archive-keyring.gpg
echo 'deb https://packages.cloud.google.com/apt kubernetes-xenial main' > /etc/apt/sources.list.d/kubernetes.list

apt update -y
apt install kubeadm=1.20.0-00 kubectl=1.20.0-00 kubelet=1.20.0-00 -y

# Reset the Worker Node (if already initialized)
kubeadm reset

# Paste the join command generated from the Master Node and append "--v=5" at the end to enable verbose output during join
kubeadm join 172.31.0.238:6443 --token k25546.pwa4h1tl0jo314vx \
    --discovery-token-ca-cert-hash sha256:1437e8d77dcdc081c48cadcc2d9c16e4773b399d534dc5eb71a8ccb19d080fdf --v=5

Remember to replace <master_node_ip>, <token>, and <hash> in the Worker Node commands with the appropriate values obtained from the Master Node. After successfully joining the Worker Node to the cluster, it will be visible in the Master Node's list of nodes when you run the command kubectl get nodes.

Step 3: Setup Deployment and Service for Kubernetes
Now that the Kubernetes cluster is up and running, we can deploy our Django Todo app. Write the Deployment and Service YAML files for the Django app. Define the necessary replicas, container images, ports, and other configurations in the YAML files.
Apply the YAML files to create the Deployment and Service.
Deployment.yaml:
apiVersion: apps/v1
kind: Deployment
metadata:
  name: django-todo-app-deployment
spec:
  replicas: 2
  selector:
    matchLabels:
      app: django-todo-app
  template:
    metadata:
      labels:
        app: django-todo-app
    spec:
      containers:
        - name: django-todo-app
          image: estebanmorenoit/django-notes-app:latest
          ports:
            - containerPort: 80
# Apply the Deployment YAML
kubectl apply -f deployment.yaml

Service.yaml
apiVersion: v1
kind: Service
metadata:
  name: django-todo-app-service
spec:
  type: NodePort
  selector:
    app: django-todo-app
  ports:
    - protocol: TCP
      port: 80
      targetPort: 80
      nodePort: 30080
# Apply the Service YAML
kubectl apply -f service.yaml

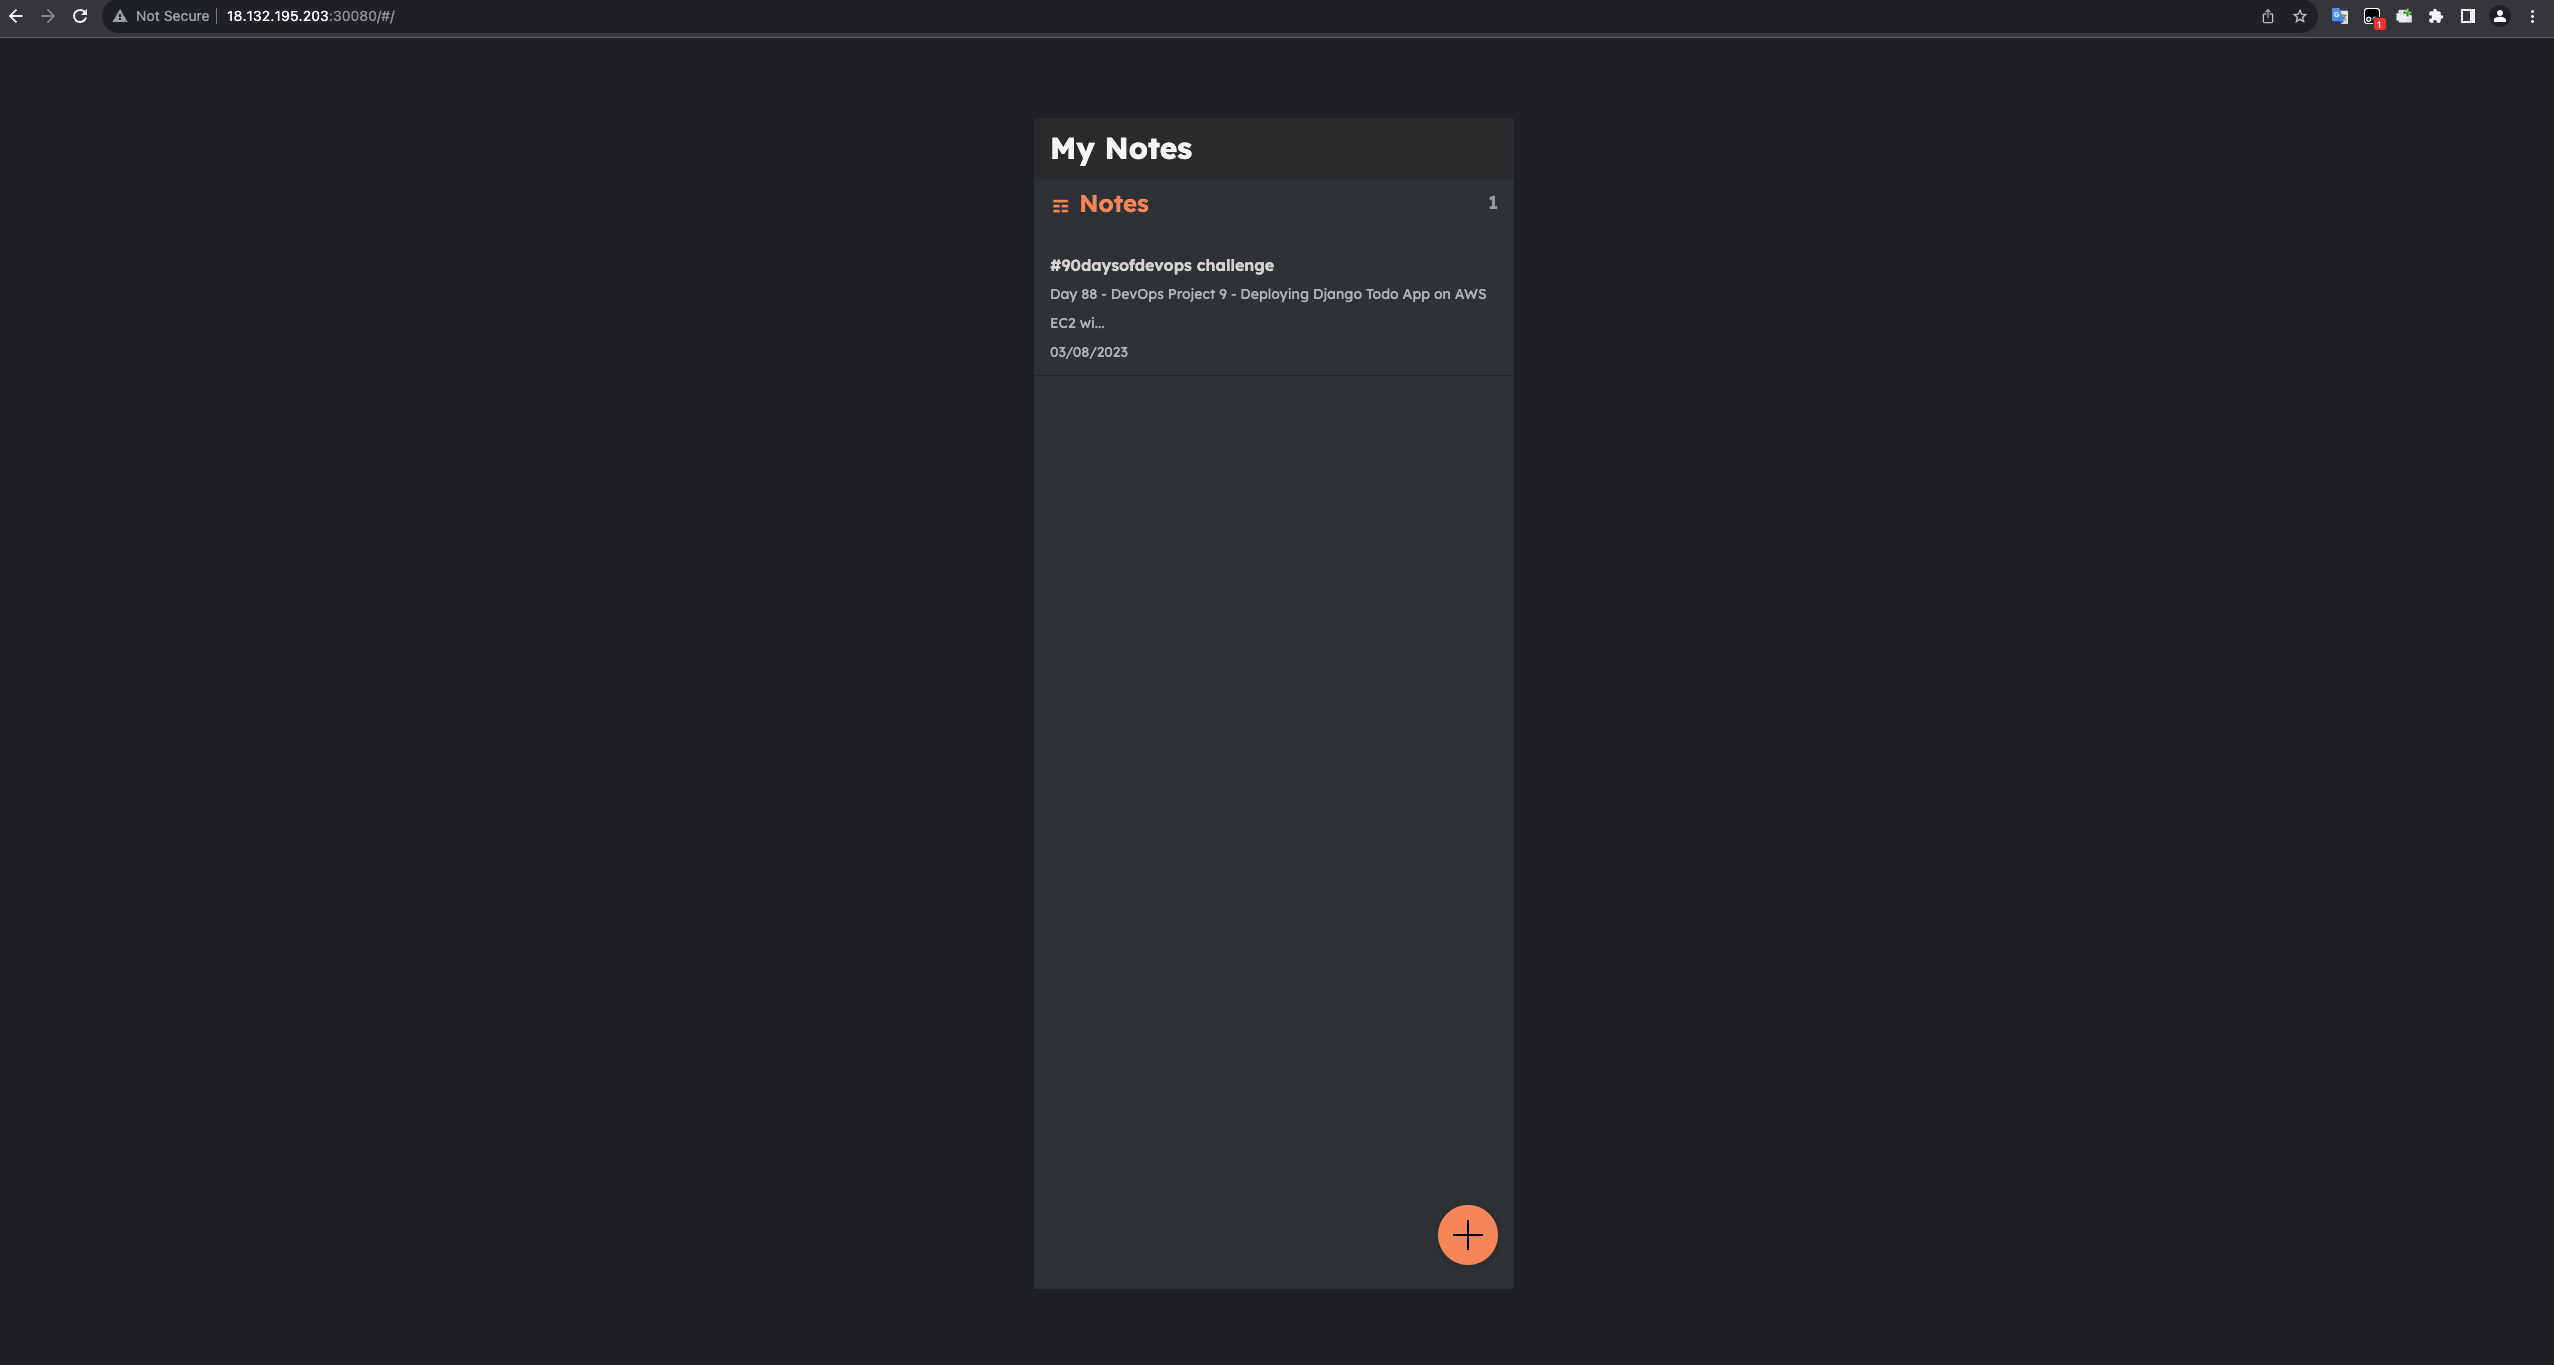
Step 4: Run the Project
With the Kubernetes Deployment and Service set up, your Django Todo app should now be accessible through the specified port on the master server. You can access it using the public IP or DNS name of the master server.

Conclusion
Congratulations on completing Day 88 of the #90DaysOfDevOps challenge! You have successfully deployed a Django Todo app on AWS EC2 using a Kubeadm Kubernetes cluster. Kubernetes provides a powerful platform for managing containerized applications, offering auto-scaling and auto-healing capabilities to ensure your app's availability and reliability. Stay tuned for tomorrow's challenge, where we will explore another exciting DevOps project!