#90DaysOfDevOps Challenge - Day 87 - DevOps Project 8 - Automating React App Deployment on AWS Elastic Beanstalk with GitHub Actions
Cloud Engineer and DevOps enthusiast, just talking about AWS, Docker, Linux, Kubernetes, Python, and automation.
Welcome to Day 87 of the #90DaysOfDevOps Challenge. Today, we have a new project ahead, where we will automate the deployment of a React application on AWS Elastic Beanstalk using GitHub Actions. With the power of GitHub Actions, we can seamlessly integrate continuous integration and continuous deployment (CI/CD) into our GitHub repository, making the deployment process efficient and automated.
Project Description
In this project, our goal is to deploy a React application on AWS Elastic Beanstalk, a fully managed service that makes it easy to deploy, manage, and scale applications. By leveraging GitHub Actions, we can set up a CI/CD pipeline to automatically build and deploy the React app to Elastic Beanstalk whenever there is a new commit or a pull request in the GitHub repository.
Before we dive into the project, you can read this blog for a better understanding of how the deployment process works with GitHub Actions and AWS Elastic Beanstalk.
Hands-on Project: Automating React App Deployment on AWS Elastic Beanstalk
Welcome to this hands-on project where we'll walk through automating the deployment of a React app on AWS Elastic Beanstalk using Docker and GitHub Actions. By the end of this project, you'll have a fully functioning deployment pipeline for your React app.
Step 1: Clone the Source Code
If you are using an Ubuntu machine, Git is likely pre-installed. Clone the repository and navigate to the project directory.
git clone https://github.com/estebanmorenoit/AWS_Elastic_BeanStalk_On_EC2.git

cd AWS_Elastic_BeanStalk_On_EC2

Step 2: Set Up Docker
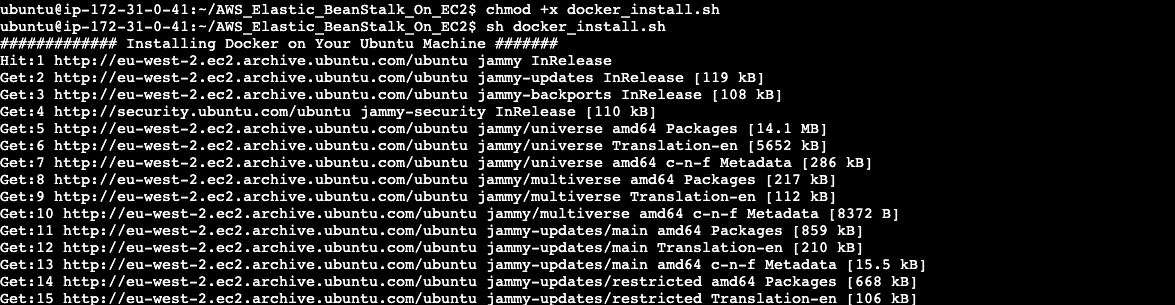
After cloning the code, find the docker_install.sh shell-script, which will install and enable Docker. Make it executable and run the script to install Docker.
chmod +x docker_install.sh
sh docker_install.sh
Step 3: Create a Multi-Stage Dockerfile
Our React app requires Node.js to run and NGINX to serve requests after deployment. Let's create a multi-stage Dockerfile to address these requirements.
Dockerfile:
FROM node:14-alpine as builder
WORKDIR /app
COPY package.json .
RUN npm install
COPY . .
RUN npm run build

FROM nginx
EXPOSE 80
COPY --from=builder /app/build /usr/share/nginx/html

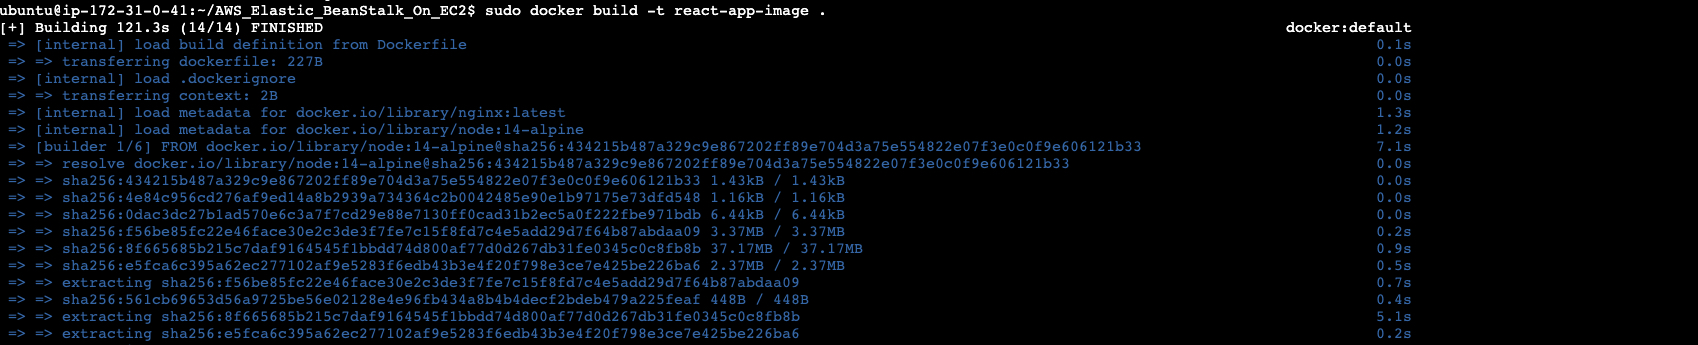
Step 4: Build the Docker Image
With the Dockerfile in place, it's time to build the Docker image.
sudo docker build -t react-app-image .
Step 5: Run the Docker Container
Launch a Docker container with the built image:
sudo docker run -d -p 80:80 react-app-image
Ensure the container is running using docker ps and confirm the application's activity by accessing the EC2 public IP on port 80.

Step 6: Configure AWS Elastic Beanstalk
Go to the AWS Elastic Beanstalk service and click on "Create Application". Provide the required details, including a name for the application, select "Docker" as the platform, and choose "Sample Code" as a starting point.

After clicking "Create Application", wait for the environment to be set up.
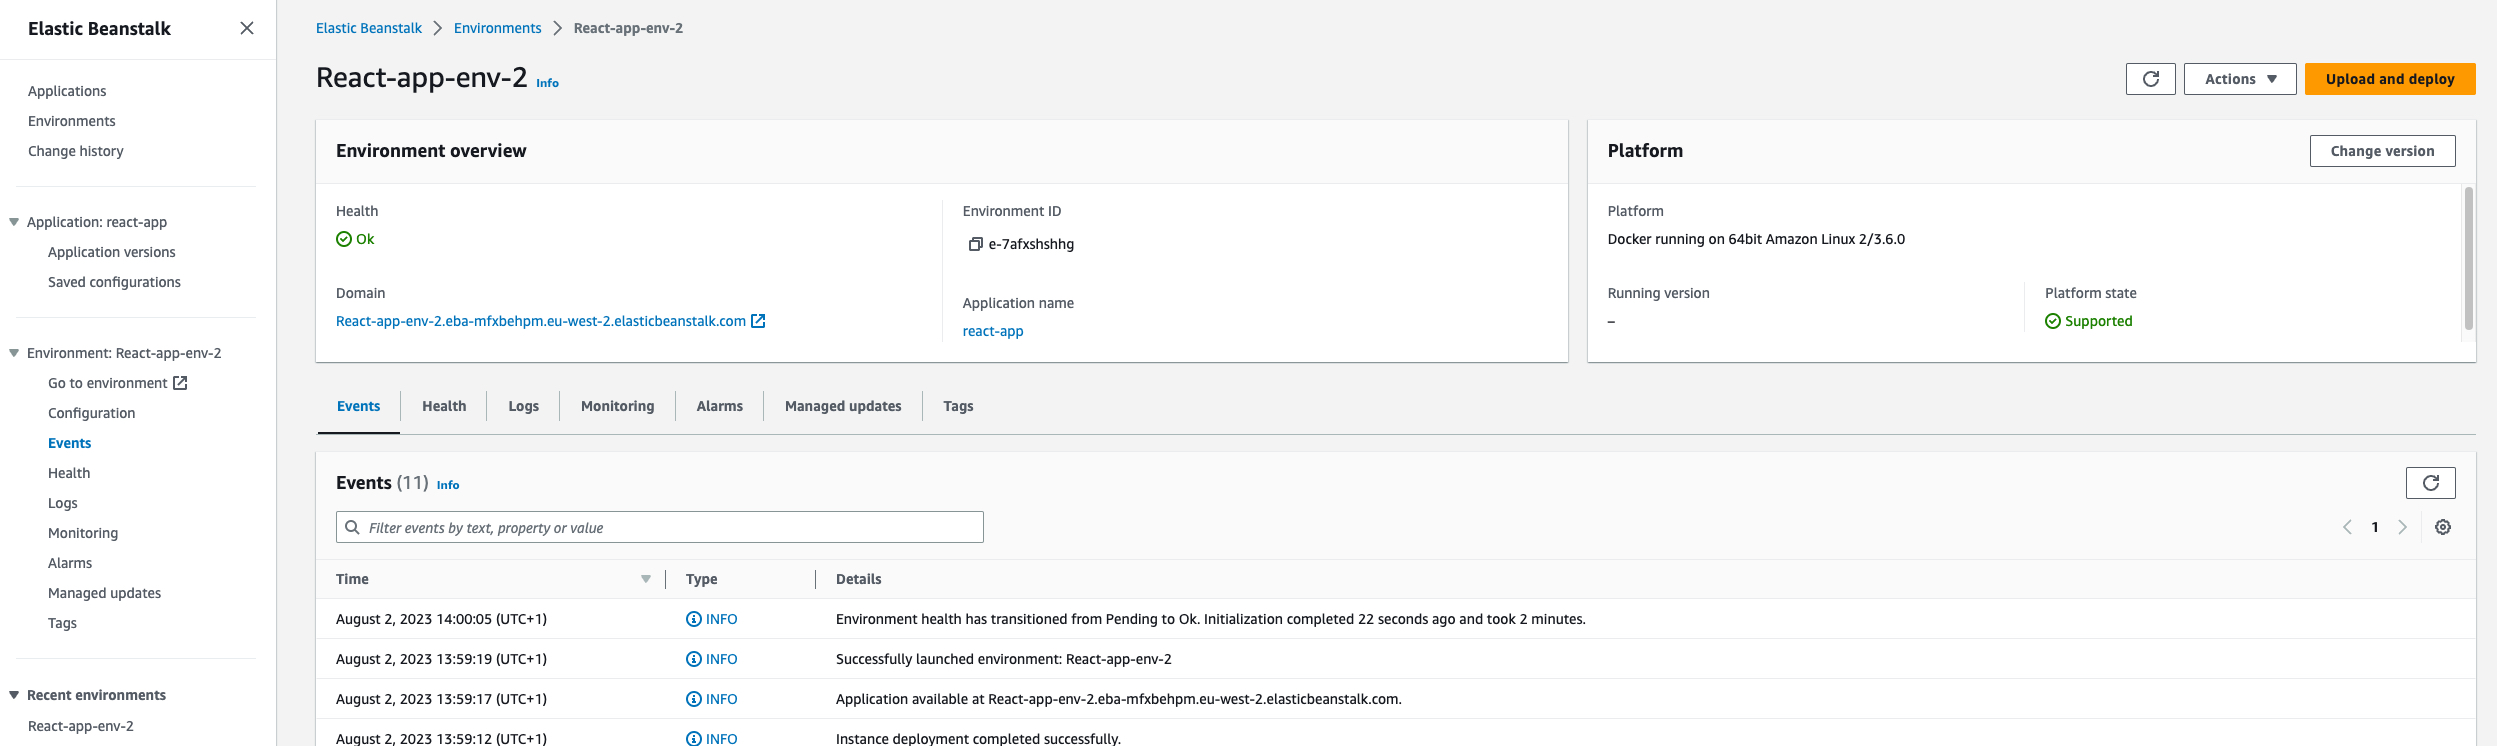
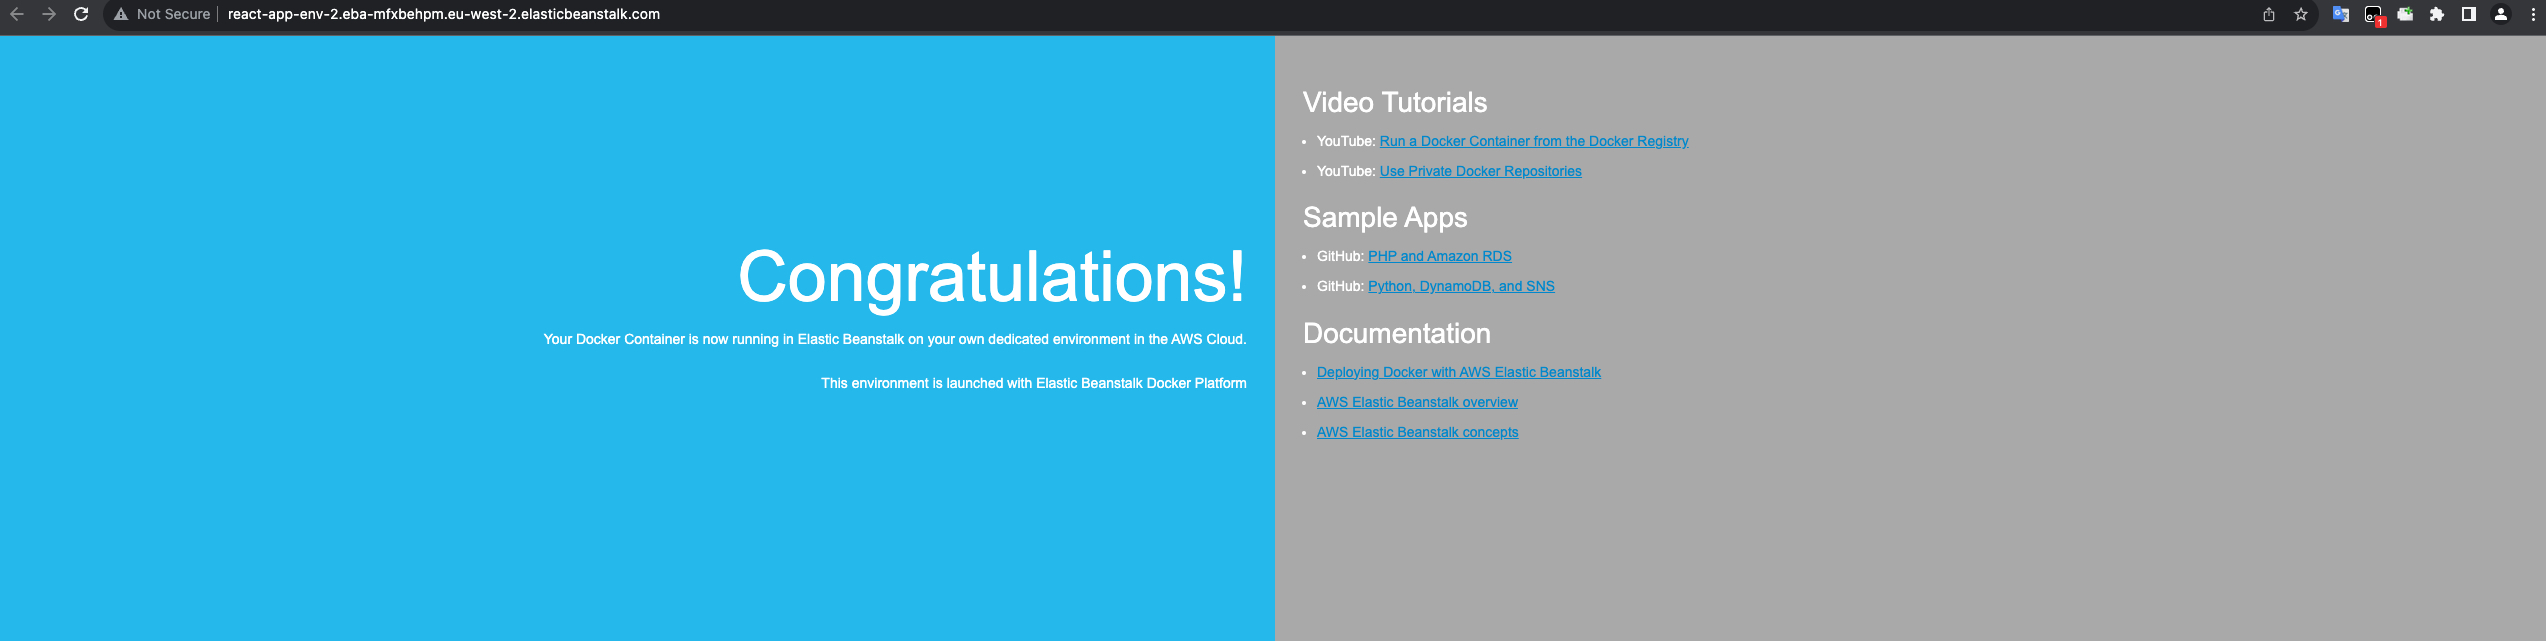
To access your deployed app, go to the "Domain" section and follow the URL provided. This link will lead you to your live React app running on AWS Elastic Beanstalk.
Step 7: Enable CI/CD with GitHub Actions
We will use GitHub Actions for CI/CD. Locate the "deploy-react.yaml" file and move it under the ".github/workflows" directory. Update the file with relevant parameters such as branch name, application name, environment name, AWS access key, AWS secret access key and region.
name : Deploy react application in BeanStalk
on :
    push:
        branches:
            - "main"
jobs:
    deploy:
        runs-on: ubuntu-latest
        steps:
        - name: Checkout source code
          uses: actions/checkout@v2

        - name: Generate deployment package
          run: zip -r deploy.zip . -x '*.git*'

        - name: Deploy to EB
          uses: einaregilsson/beanstalk-deploy@v21
          with:
            aws_access_key: ${{ secrets.AWS_ADMIN_ACCESS_KEY_ID }}
            aws_secret_key: ${{ secrets.AWS_ADMIN_SECRET_ACCESS_KEY_ID }}
            application_name: react-app
            environment_name: React-app-env-2
            version_label: ${{ github.sha }}
            region: eu-west-2
            deployment_package: deploy.zip
Step 8: Trigger GitHub Action CI/CD
Push all the codes under the "AWS_Elastic_BeanStalk_On_EC2" folder to the "main" branch of your GitHub repository. GitHub Actions will automatically trigger the CI/CD process.
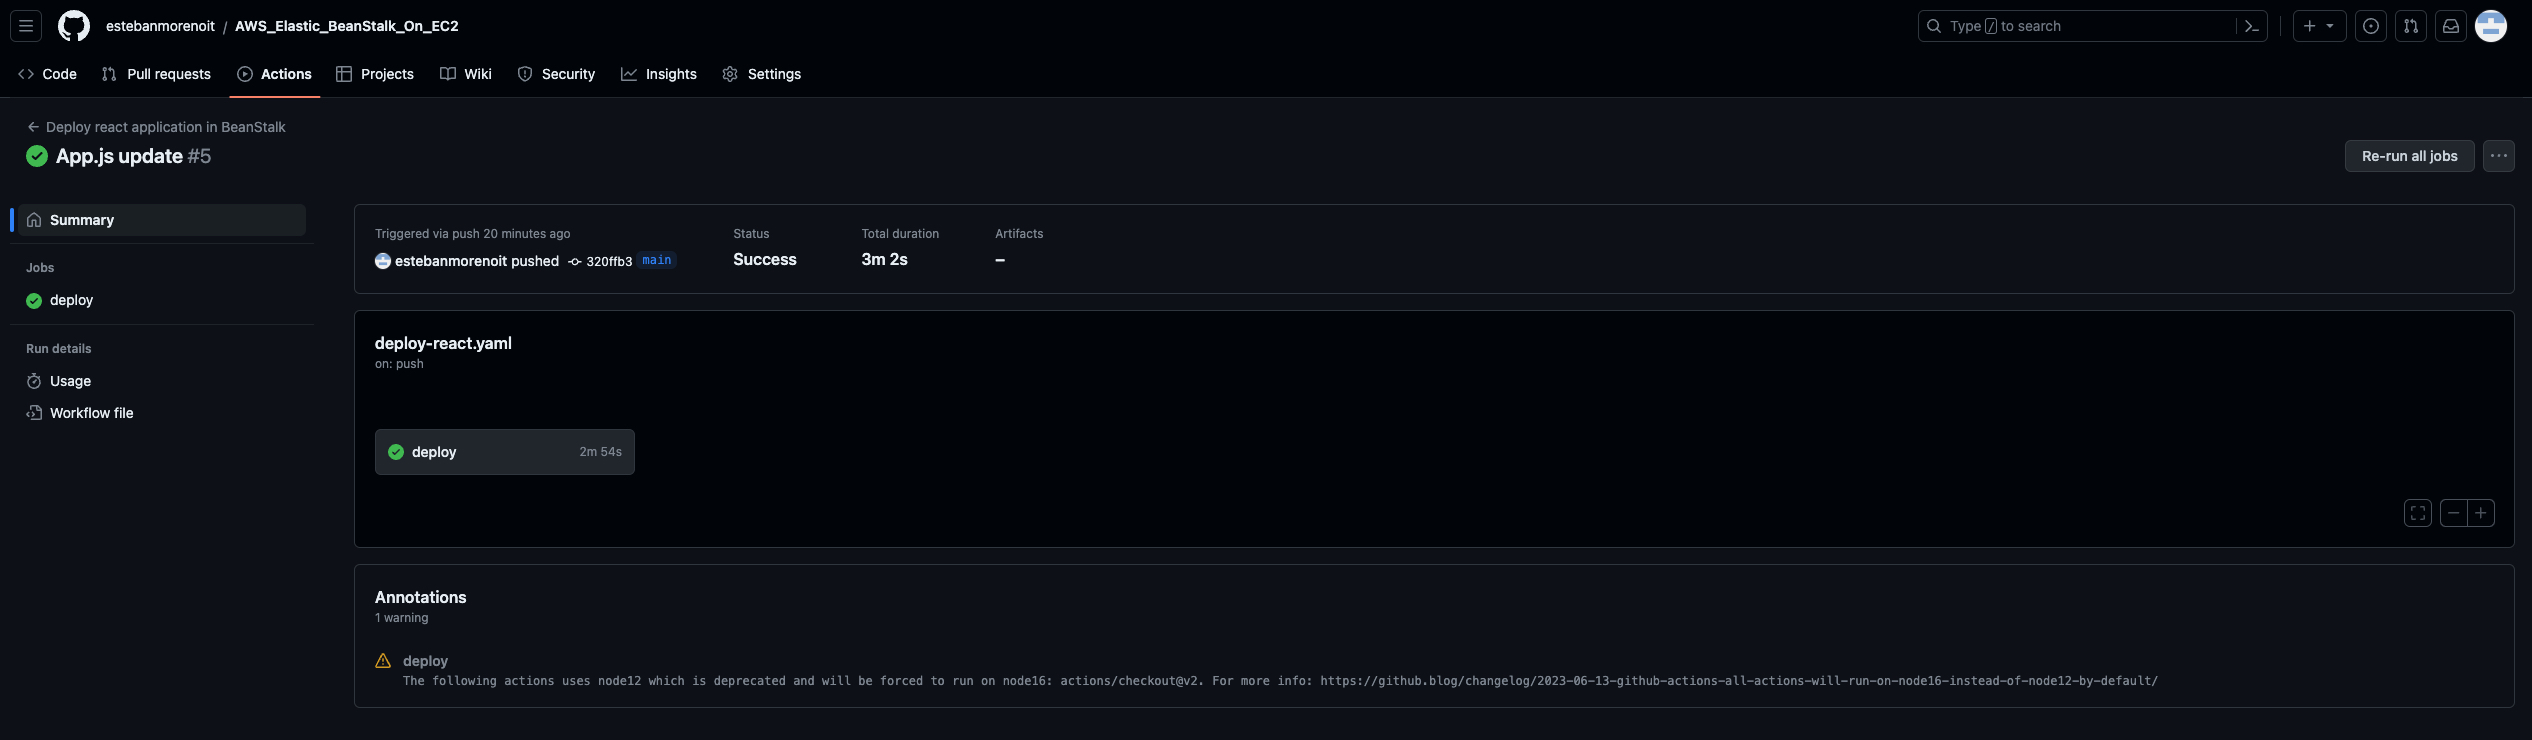
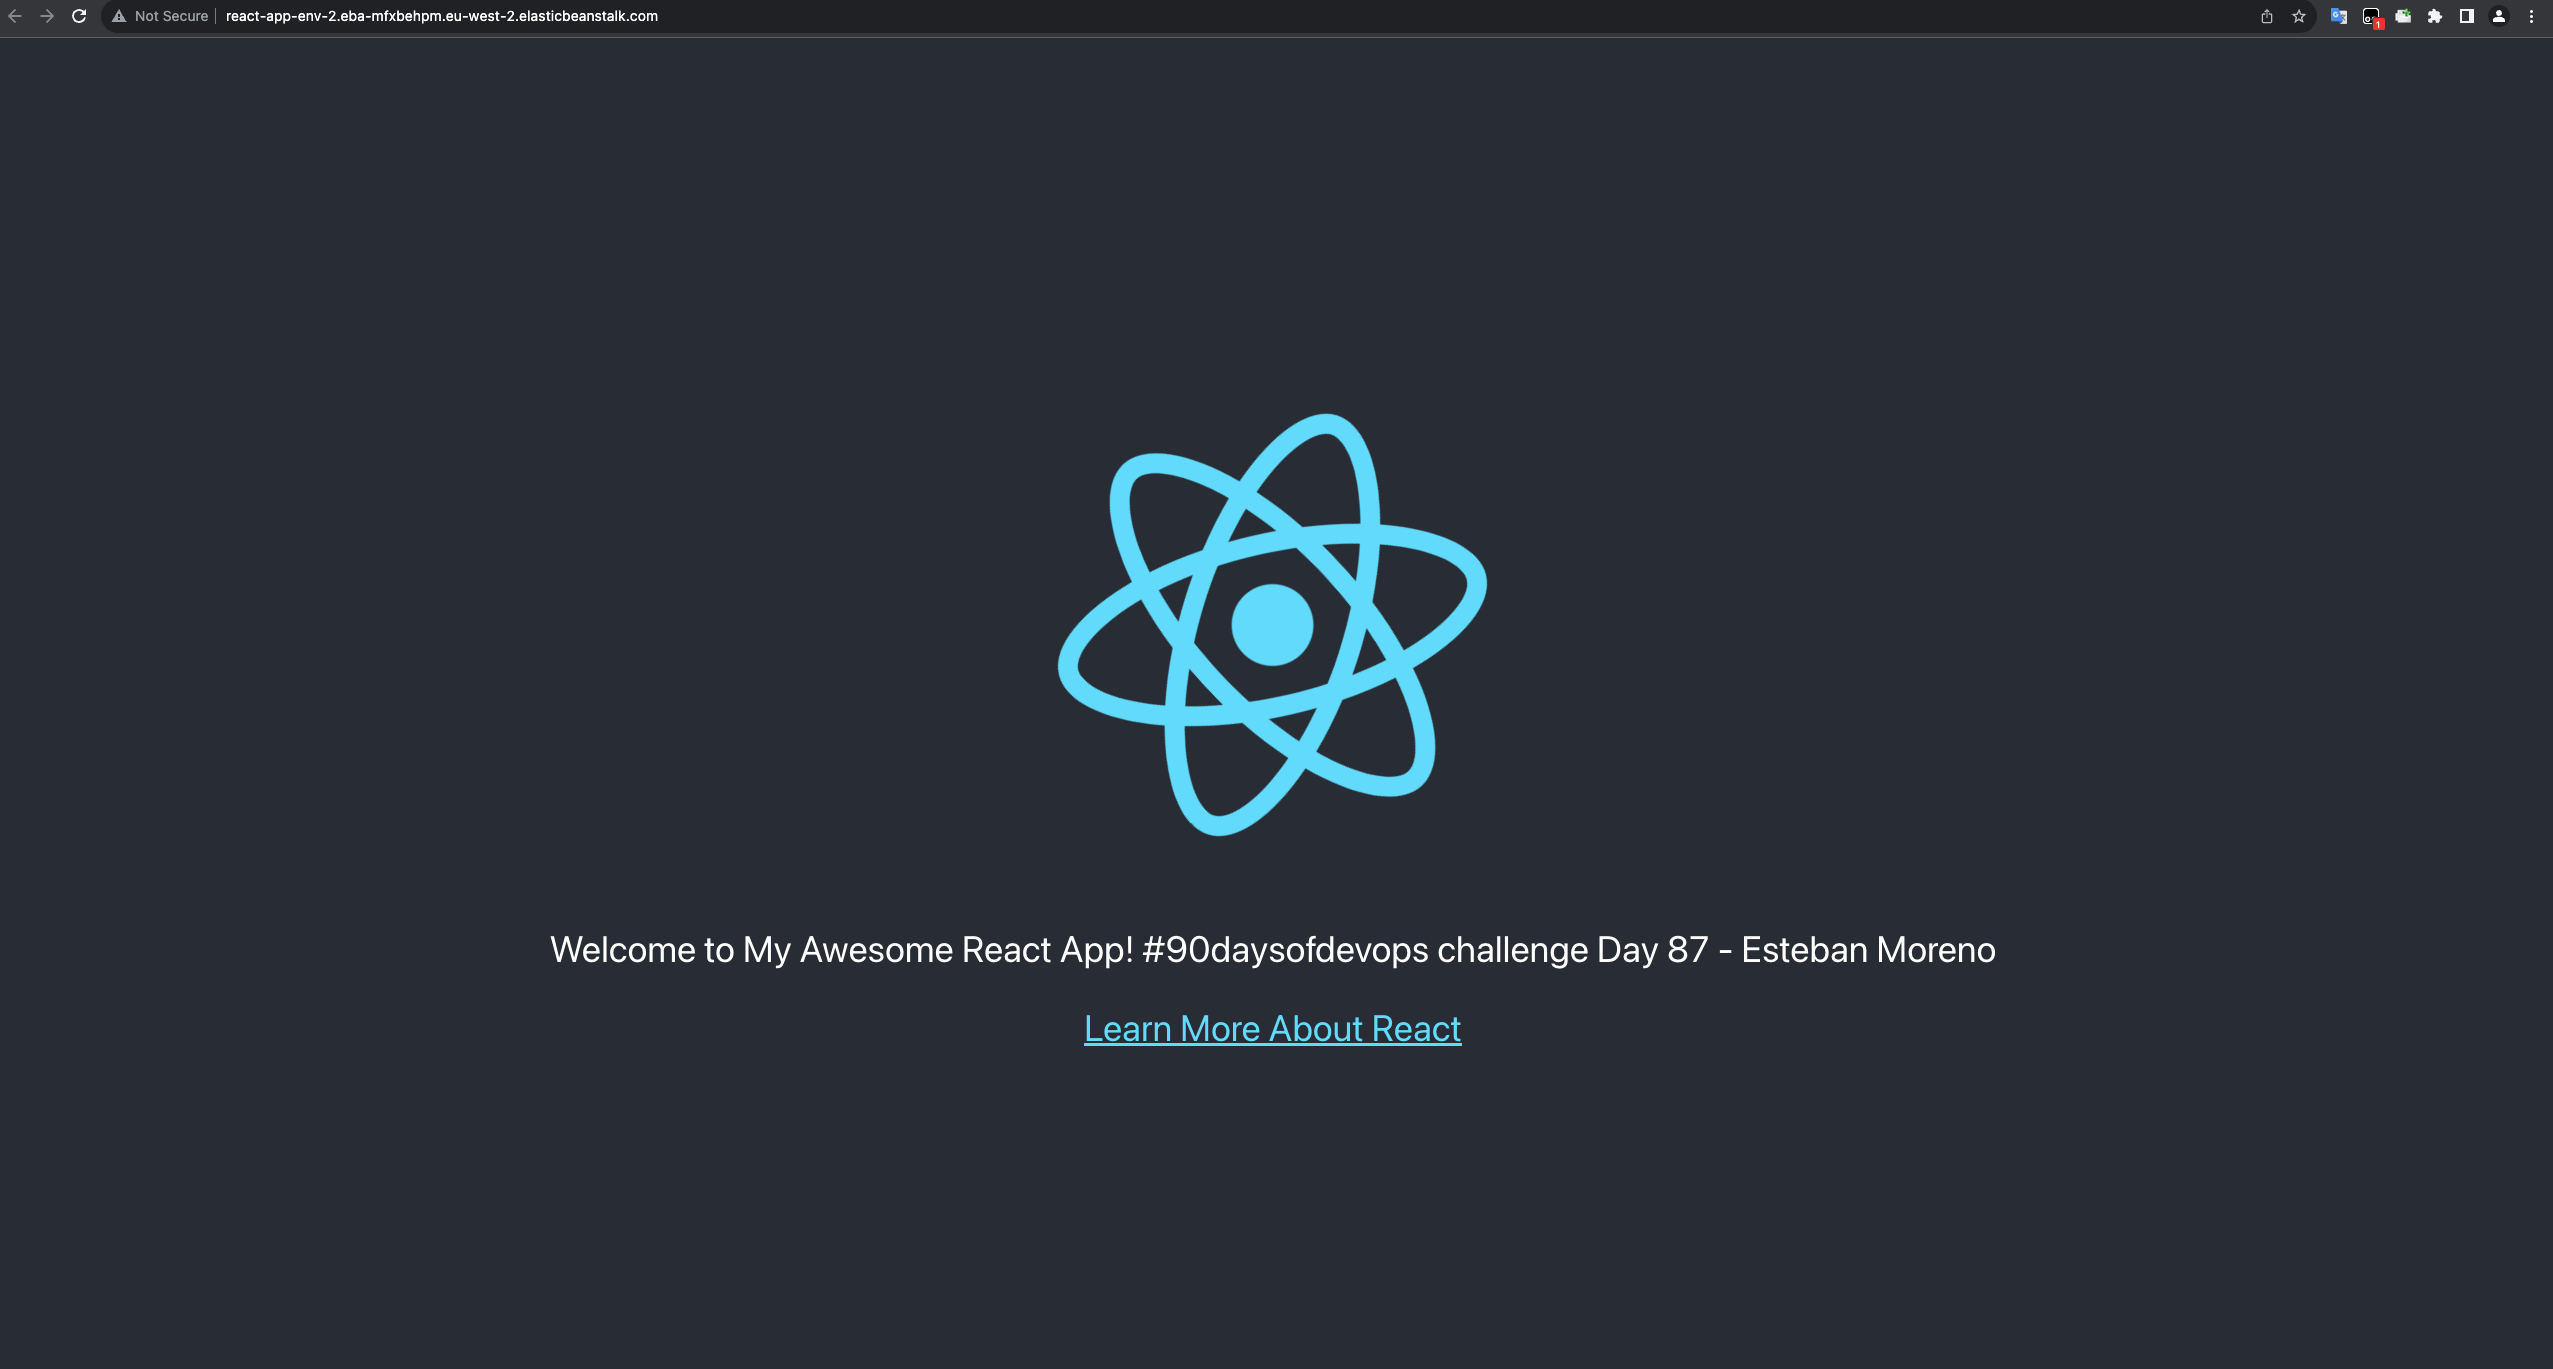
Step 9: Check the Result
Verify the Elastic Beanstalk link received earlier. The sample application should now be replaced with our React app, which confirms a successful deployment.
Congratulations on completing this hands-on project! Day 87 of the #90DaysOfDevOps Challenge was all about automating the deployment of a React application on AWS Elastic Beanstalk using GitHub Actions. By setting up this CI/CD pipeline, you have streamlined the deployment process, ensuring that your app is always up-to-date and readily available to your users. Tomorrow, we'll dive into another exciting project. Stay tuned!